How to Make Easy Paper Mache Creations
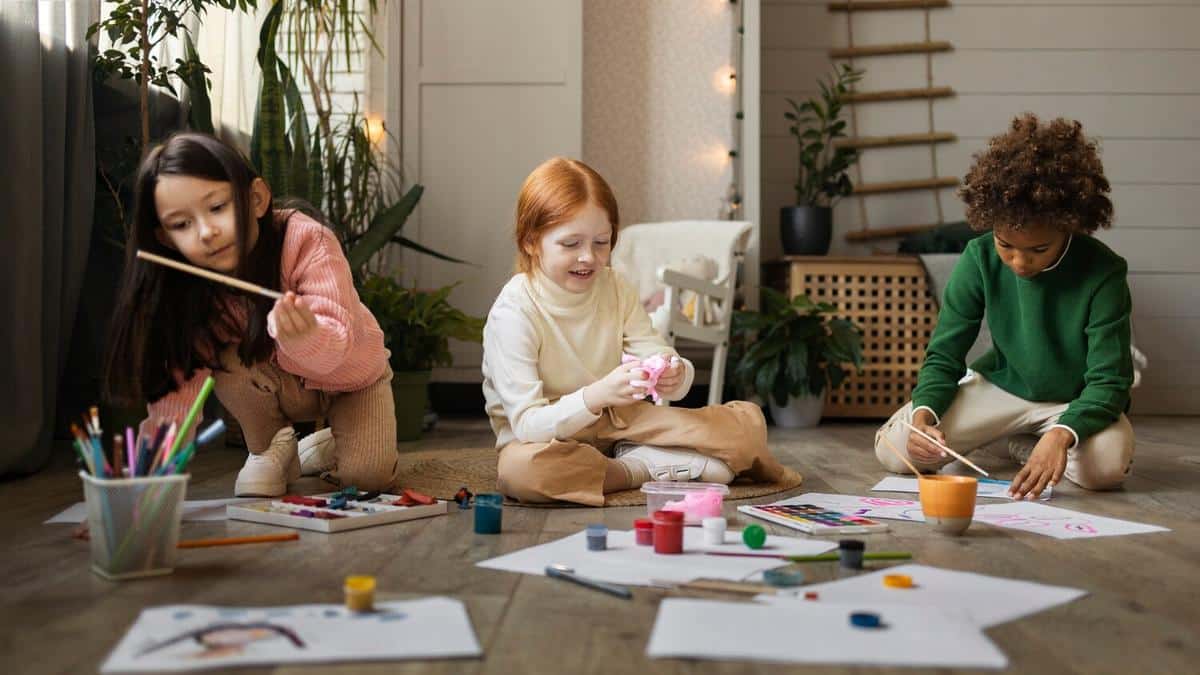
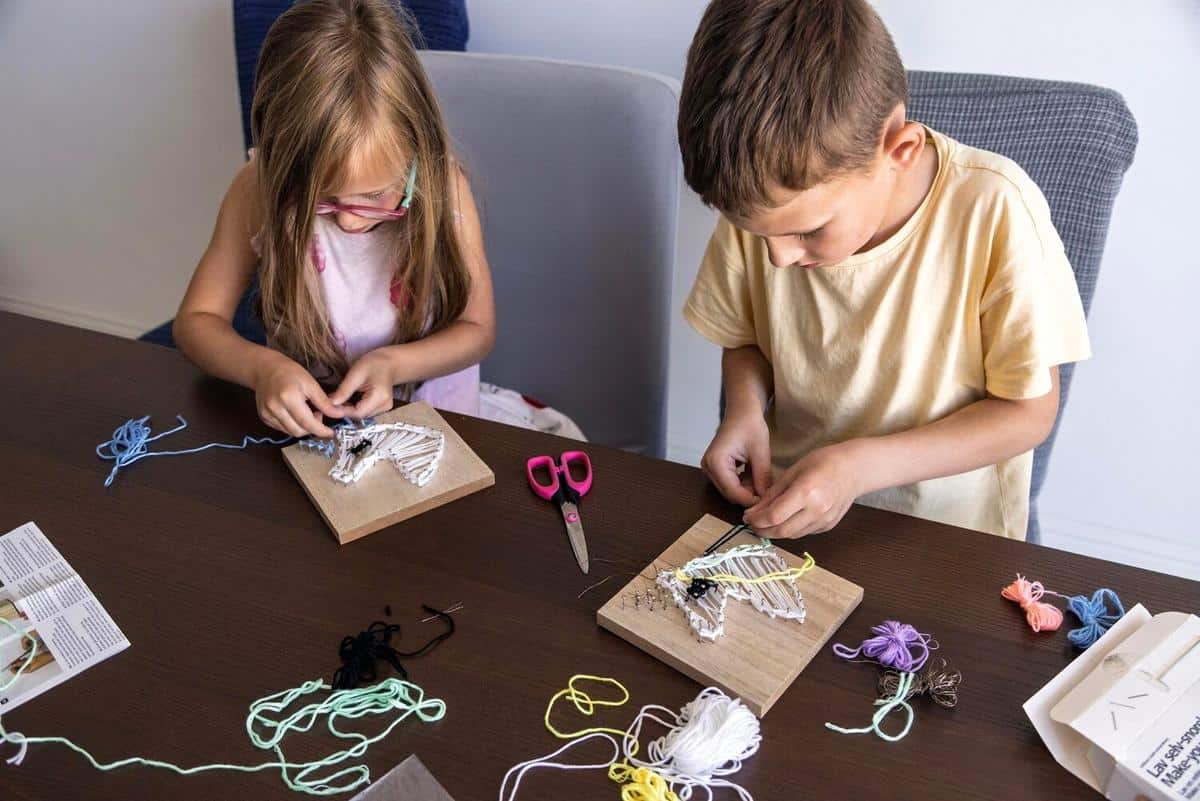
Unleashing creativity through crafts can be a joyful experience, especially when working with simple and versatile materials like paper mache. Whether you’re a parent, teacher, or caregiver, paper mache offers an exciting way to engage kids in a hands-on activity that sparks imagination and encourages artistic expression.
Paper mache, a crafting technique that involves using paper and adhesive to create various forms, is not only easy but also a fantastic medium for crafting with children. With roots tracing back to ancient China, this method has been cherished for its simplicity and adaptability.
Getting Started with Paper Mache
Before diving into your paper mache project, gather your materials. You’ll need:
- Newspaper or tissue paper
- Adhesive (flour paste or white glue)
- A base structure (balloons, cardboard, or wireframes)
- Paint and brushes (for decoration)
Once your materials are ready, you’re all set to explore the endless creative possibilities!
Expert Insights
According to crafting expert Lisa Jacobs, “Paper mache is an excellent way to introduce children to the world of art. It teaches them patience and the importance of layering in art.” Jacobs emphasizes that the process is as valuable as the finished product, allowing children to experiment with textures and shapes.
Step-by-Step Guide
- Prepare the adhesive by mixing flour with water to a paste-like consistency or use diluted white glue.
- Tear the paper into strips, as cutting can give a less natural edge.
- Dip the strips into the adhesive, remove excess, and apply to the base structure.
- Layer until the desired thickness is achieved and let it dry thoroughly.
- Once dry, paint and decorate your creation to bring it to life.
Personal Anecdotes
One summer, I organized a paper mache workshop for a group of children at our community center. The kids were thrilled to create their own animal masks, each one unique and full of character. The joy on their faces when they saw their finished creations was priceless and a testament to the engaging nature of paper mache.
Comparison Table: Flour Paste vs. White Glue
| Criteria | Flour Paste | White Glue |
|---|---|---|
| Cost | Low | Moderate |
| Drying Time | Longer | Faster |
| Strength | Moderate | Strong |
| Clean-up | Easy | Moderate |
| Allergies | Potential (gluten) | None |
| Availability | Common | Very Common |
| Eco-friendliness | High | Variable |
| Finish | Matte | Shiny |
Frequently Asked Questions
Can I use any type of paper for paper mache?
While newspaper is commonly used, tissue paper or brown paper bags can also work well.
How long does it take for paper mache to dry?
Drying time can vary, but generally, it takes about 24 hours. Using a blow dryer can speed this up.
Is it safe for young children to use flour paste?
Yes, flour paste is safe, but ensure children do not ingest it and wash their hands after use.
Engaging in paper mache crafts can be a rewarding and educational experience for kids. By following these steps and tips, you can guide them through creating their unique masterpieces. So, gather your materials and let the crafting fun begin!


